Have you ever had a toilet paper holder that just doesn't work well for you? Sometimes it's out of reach. Sometimes it's falling apart. Sometimes it's too small for the ultra, mega-sized rolls we can buy today. The last scenario is what we found when we moved into this house. It's just another example of the many things we have found in this home that was built in 2005 that is out of date even for the year it was built.
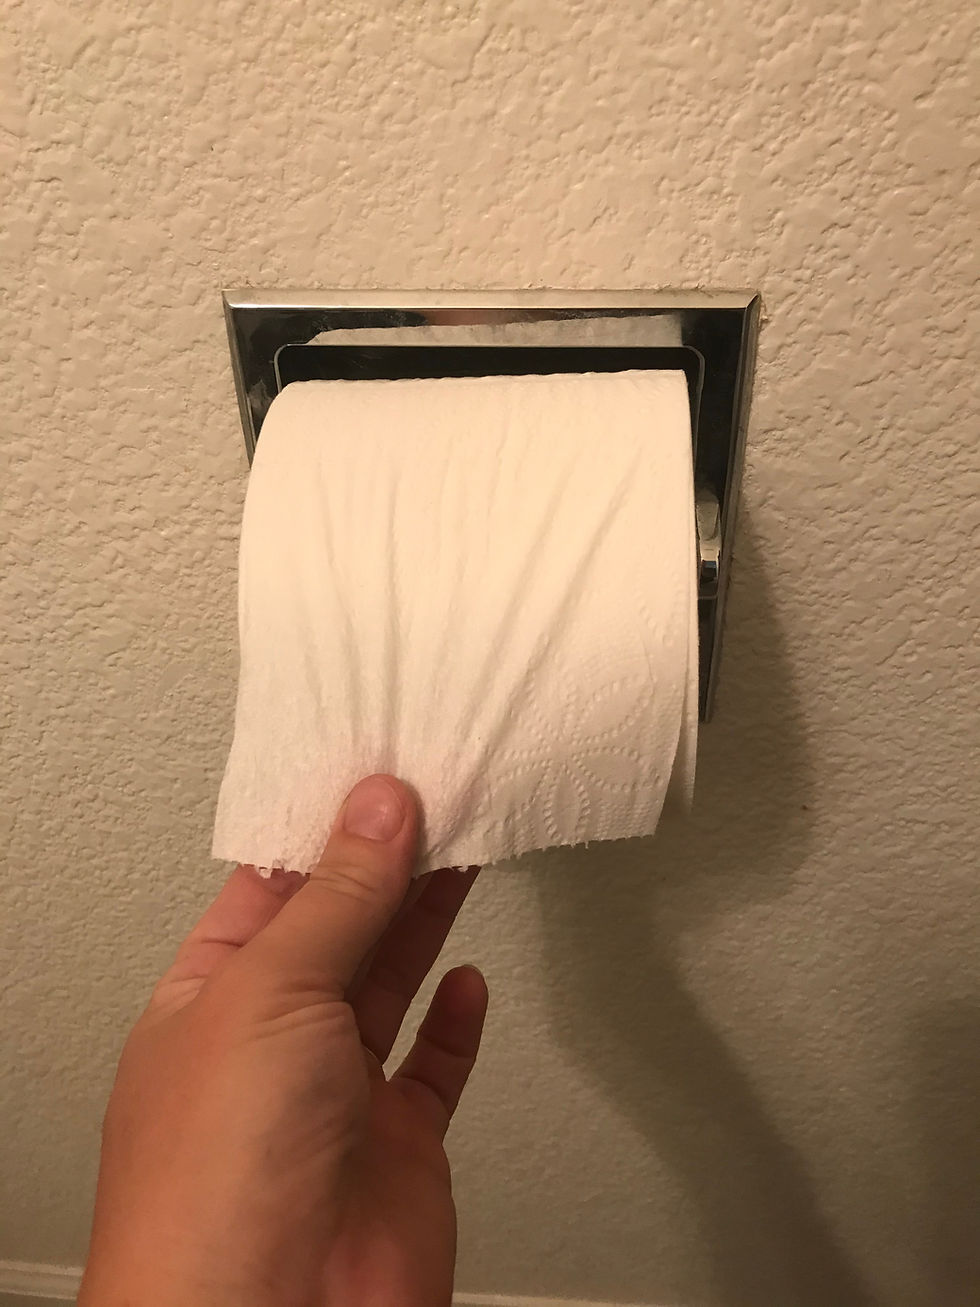
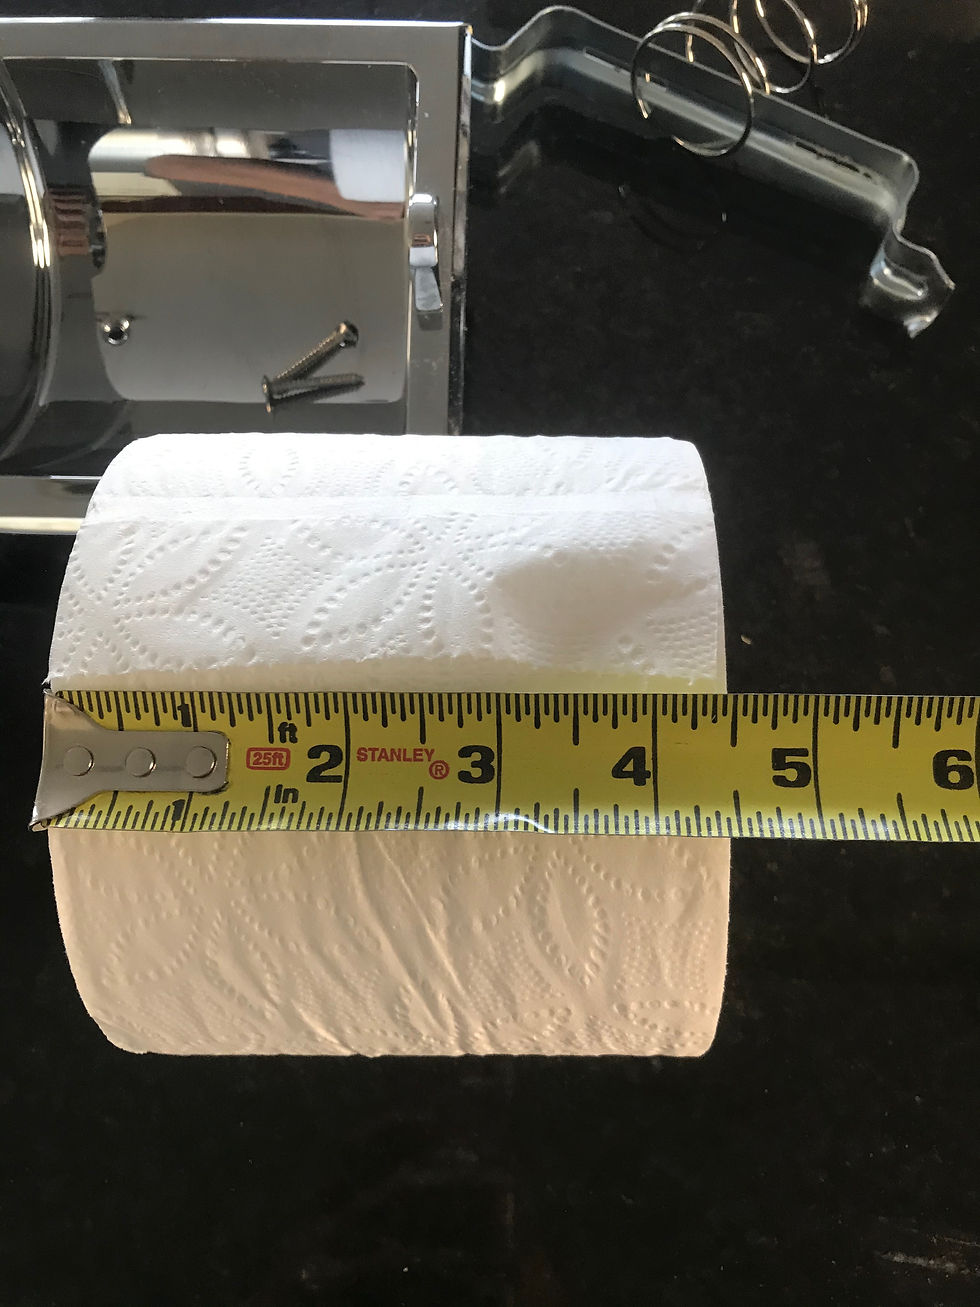
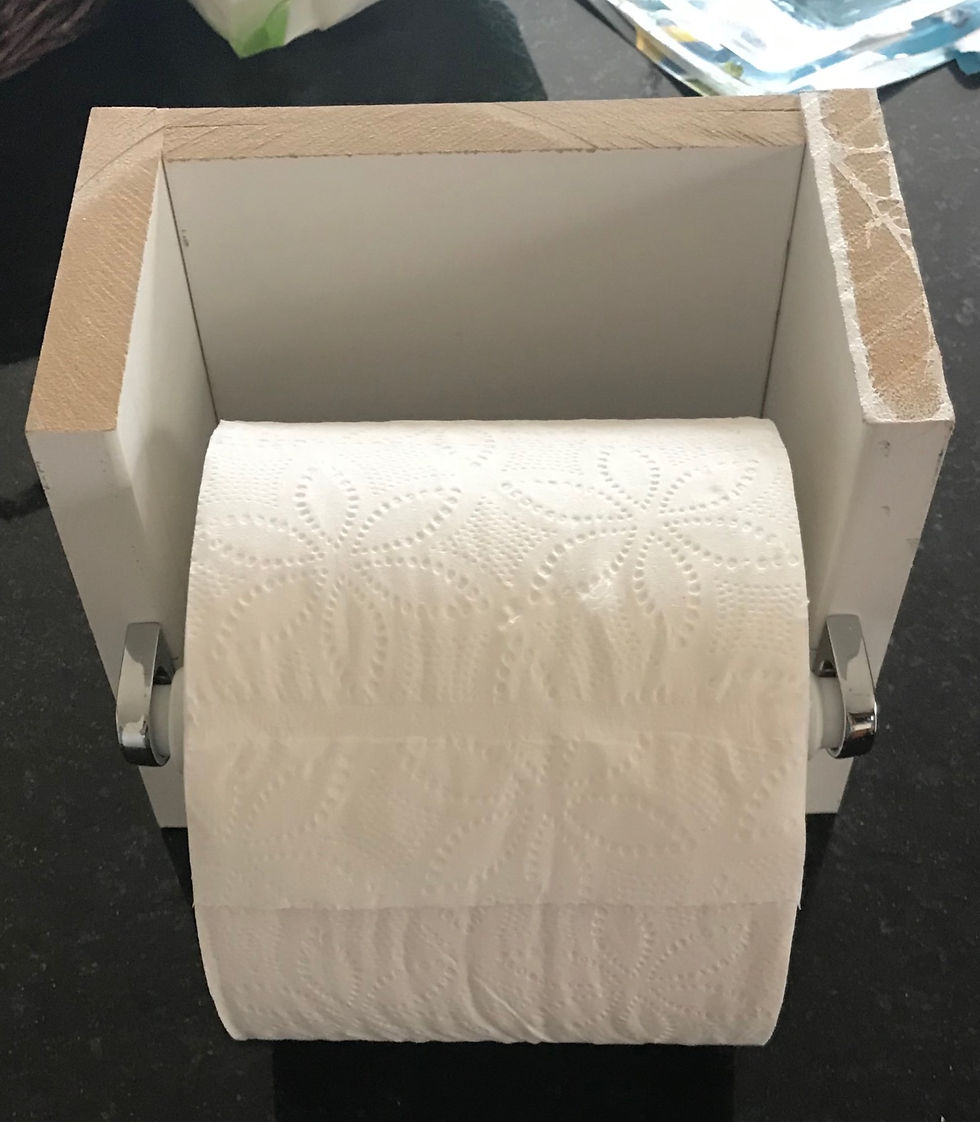
It's difficult to tell from the picture but, when a brand new roll of toilet paper is put in the holder, each square rips off one at a time because the fit is so tight. I know, first world problems, right? There were several different fixes I could choose from. I could just live with the annoyance of carefully pulling the toilet paper for the first few days of use, until the roll was small enough to move freely. I could just buy smaller rolls of toilet paper and have to change it out more often. I could buy a new toilet paper roll holder. I could make a new toilet roll holder! Guess which fix I chose.
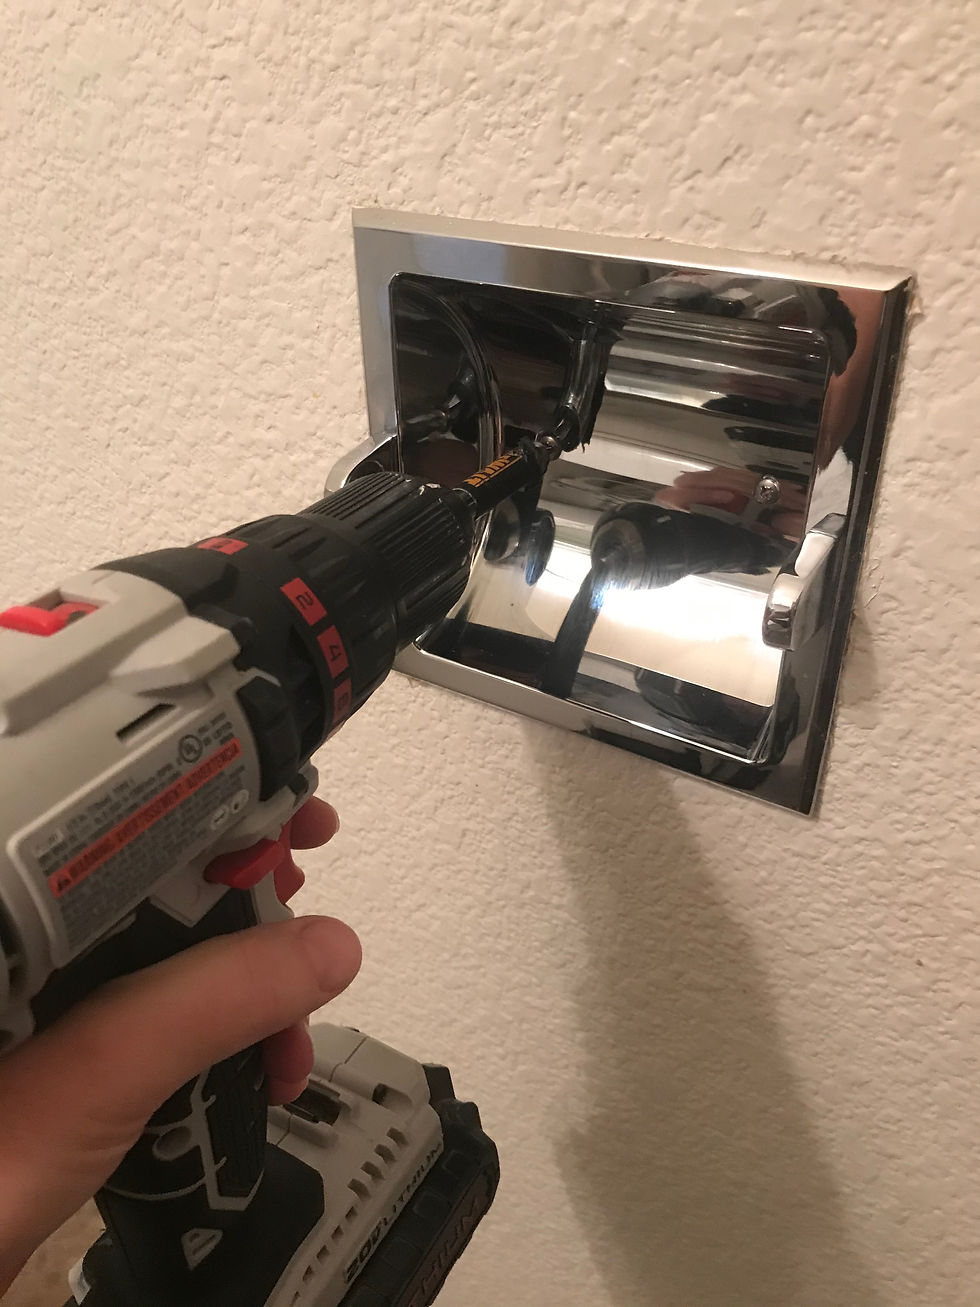
My first step was to remove the existing holder. After taking off the toilet paper, I discovered two screws.
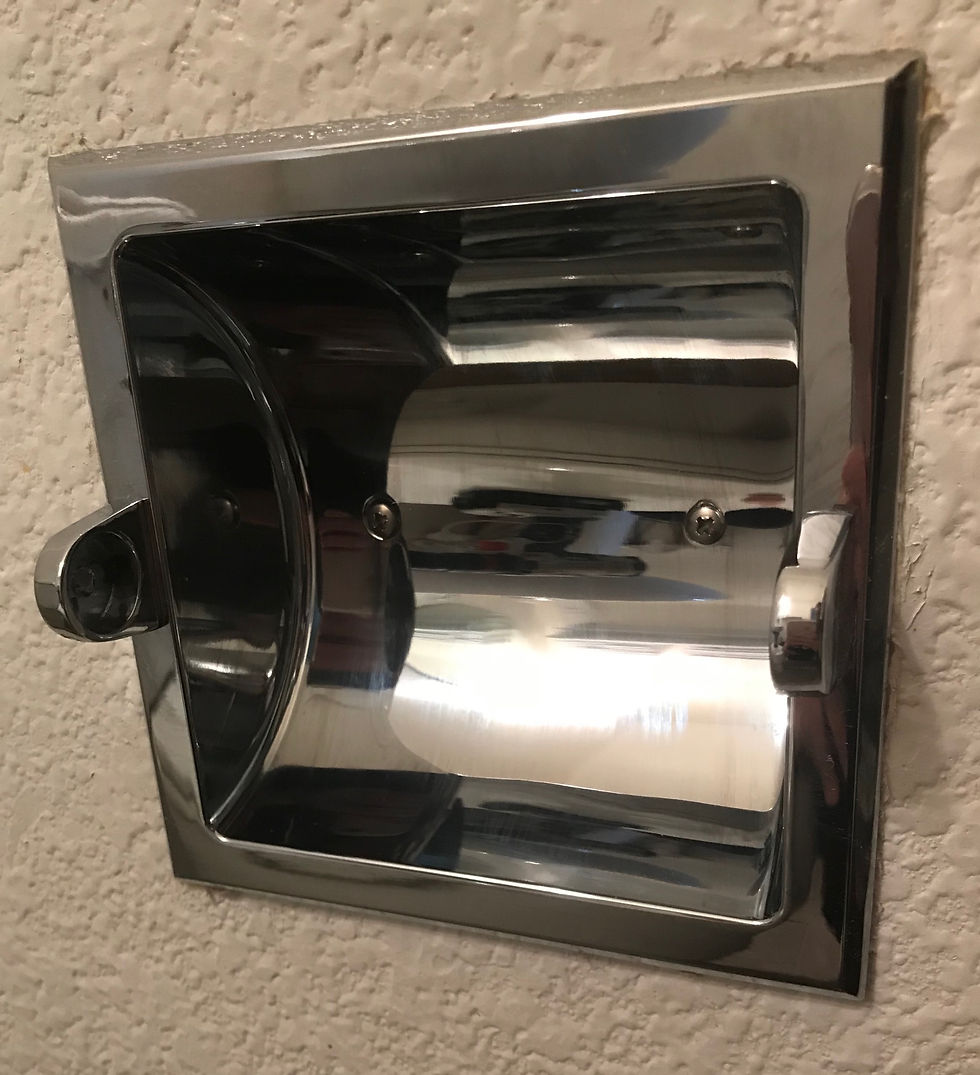
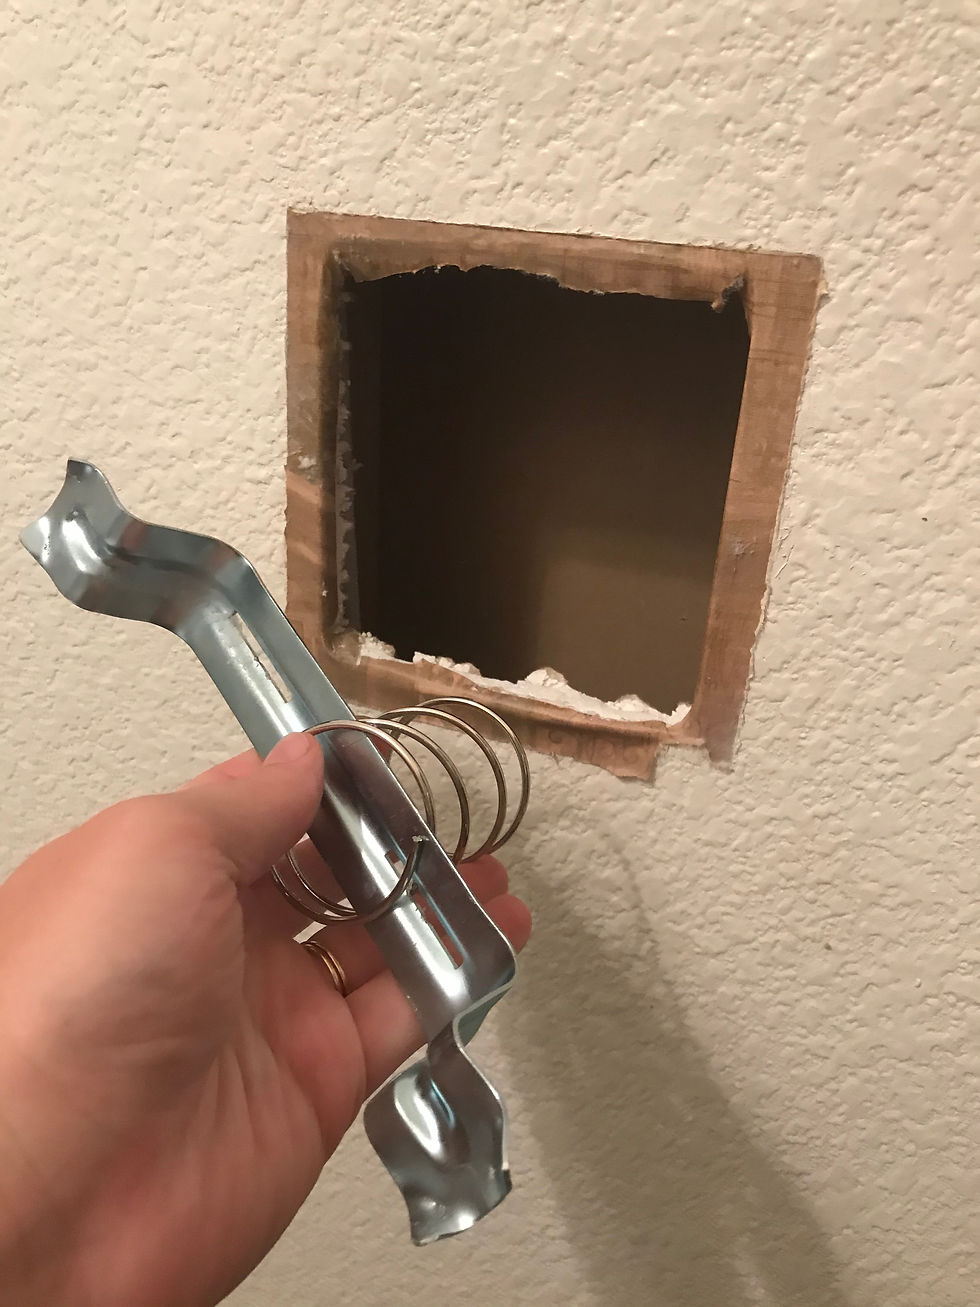
Here's what it looked like behind the holder.

I thought this was a pretty cool contraption. The metal bar is the right depth for the holder and the screws went into the slots. The spring held it in the right place. Since I wanted to build something bigger than what was there, I removed those pieces.
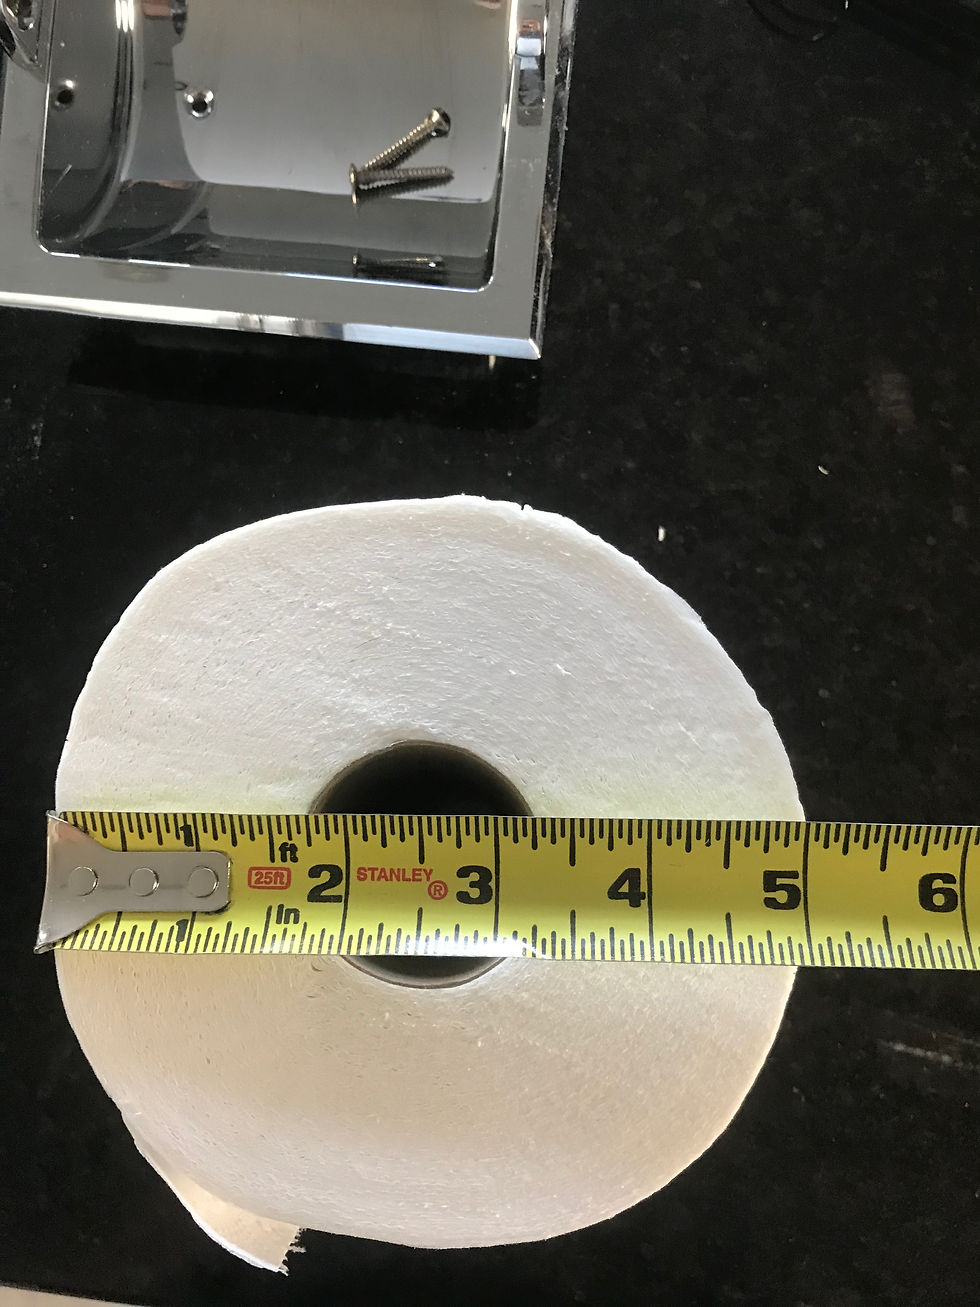
Next, I measured a full ultra, mega-sized toilet paper roll.
I have tons of scrap wood that I keep around for projects like these. I usually find a use for them. I gathered a bunch and started to see what size would work best. I settled on this material for the job but I had to cut taller pieces.

Once I had the pieces cut, I took the actual roll holder pieces off of the old holder. I figured I could reuse them in my new design.
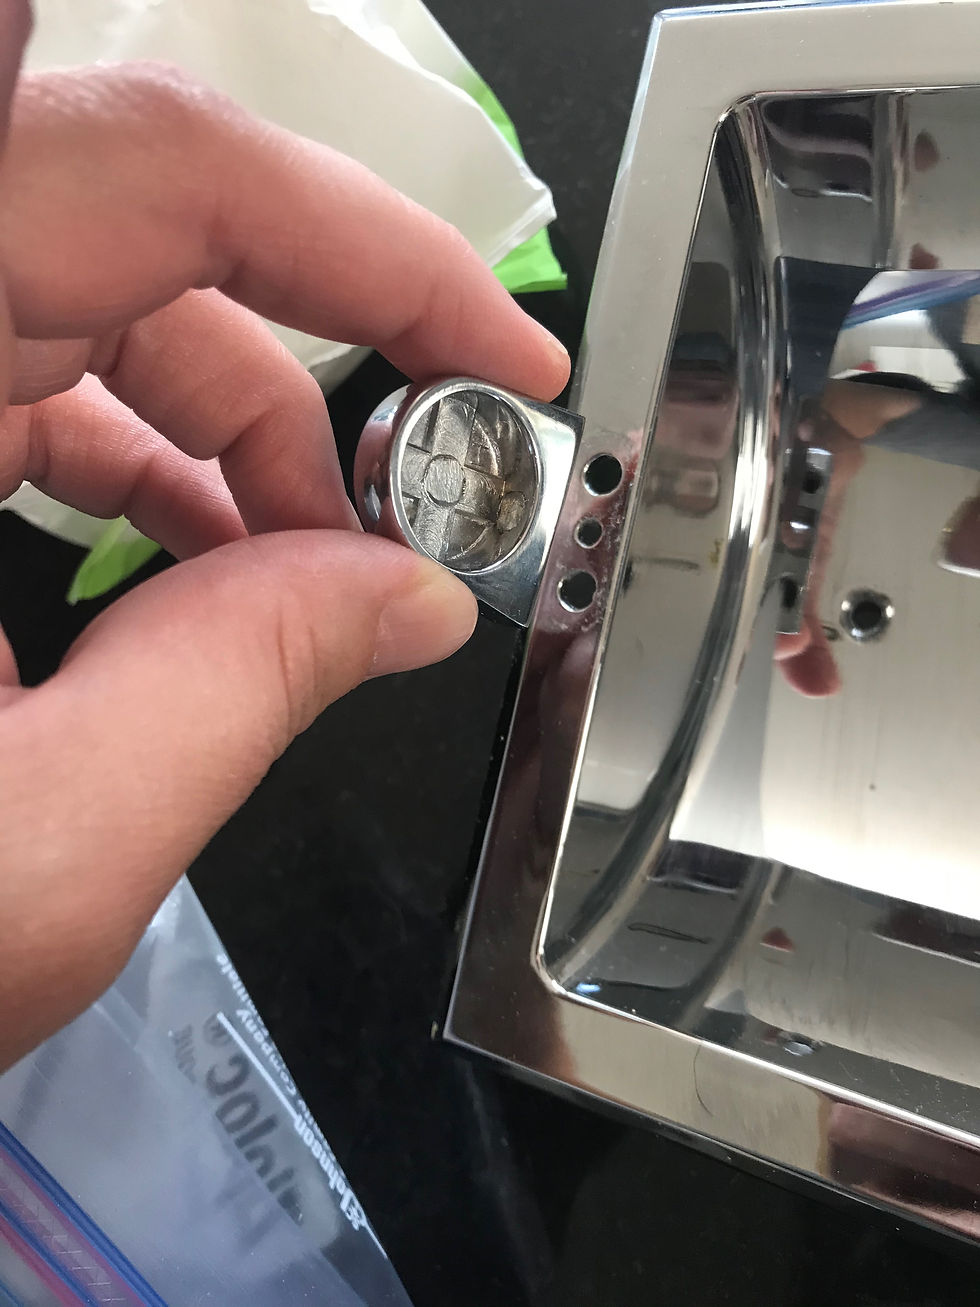
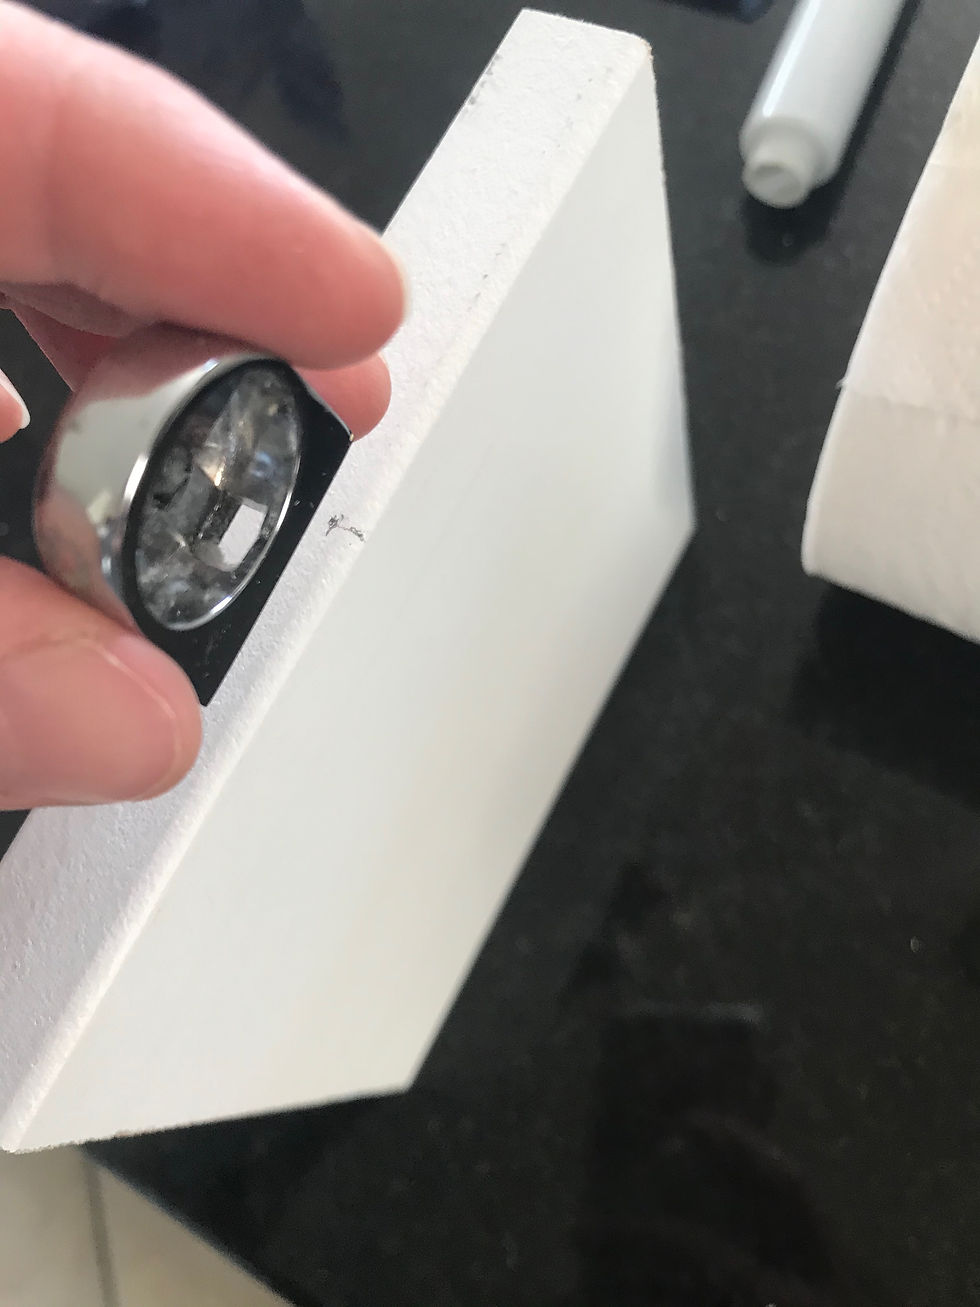
My first attempt at reusing the roll holder pieces did not go well because I had to attach them a different way. In the end product, I came up with a better way to add them but this is the first idea...
Next, I attached the side pieces with the back piece and made sure the roll would still fit well.
One thing I had to think through before attaching the back was to measure the depth inside the wall. It is 4", so that's how deep I made this box. Next I measured to add a top and bottom to it and attached them.
I learned two things at this stage. First, attaching the roll holder pieces exactly in the center did not work because the toilet paper rested on the roll in a way that dropped it down lower, causing it to rub on the bottom of the box. If I left it like that, I would have been stuck with the same problem that I started with. I had to adjust the holder pieces to a slightly higher spot and it worked well. Second, my decision to use MDF boards resulted in cracked pieces once I attached the bottom piece - despite my having drilled pilot holes before putting the screws in. My fix for that involved reattaching the roll holder pieces in a better way. More on that later.
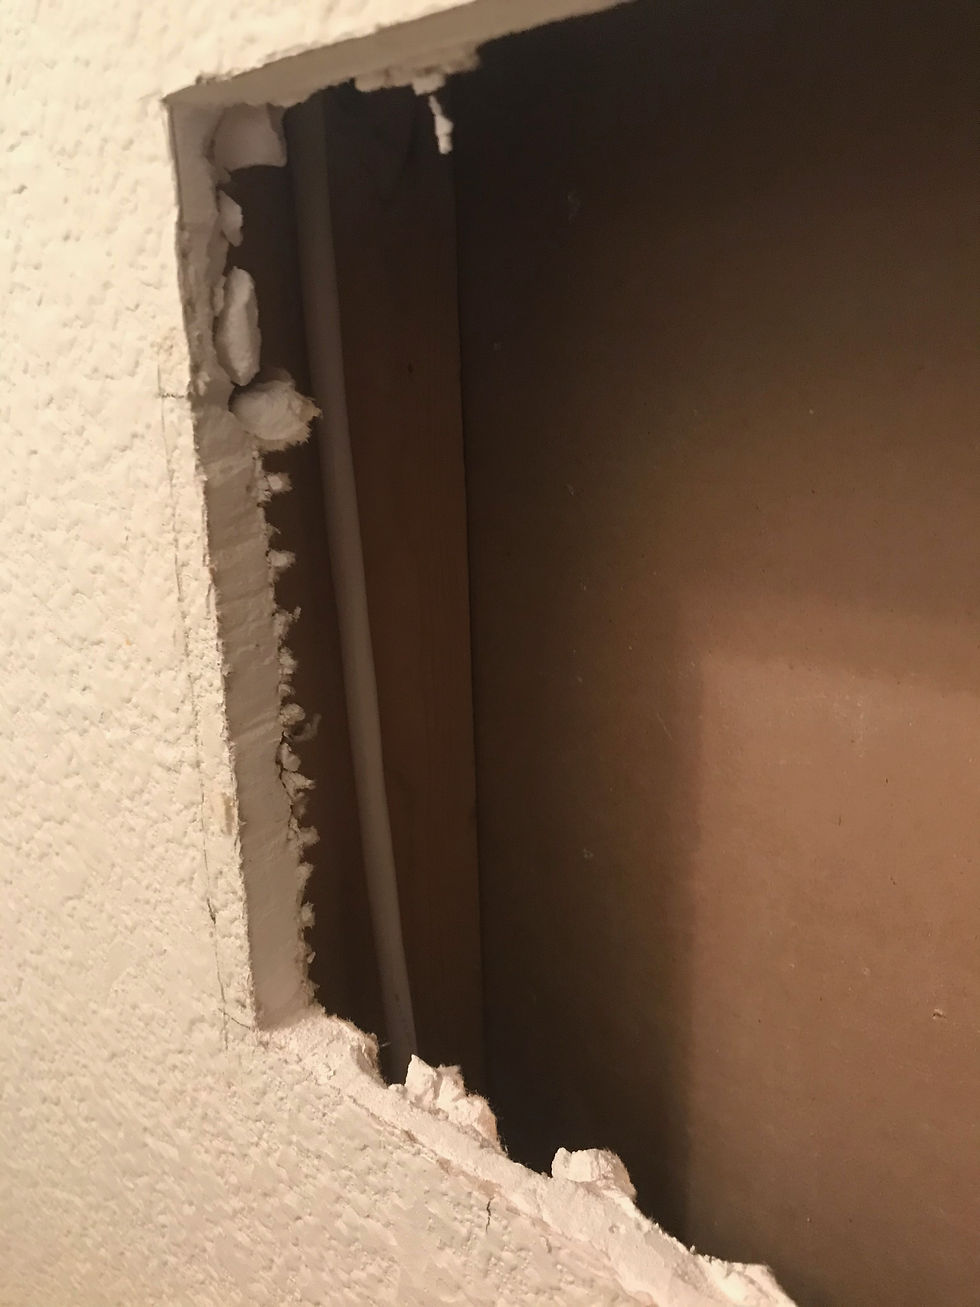
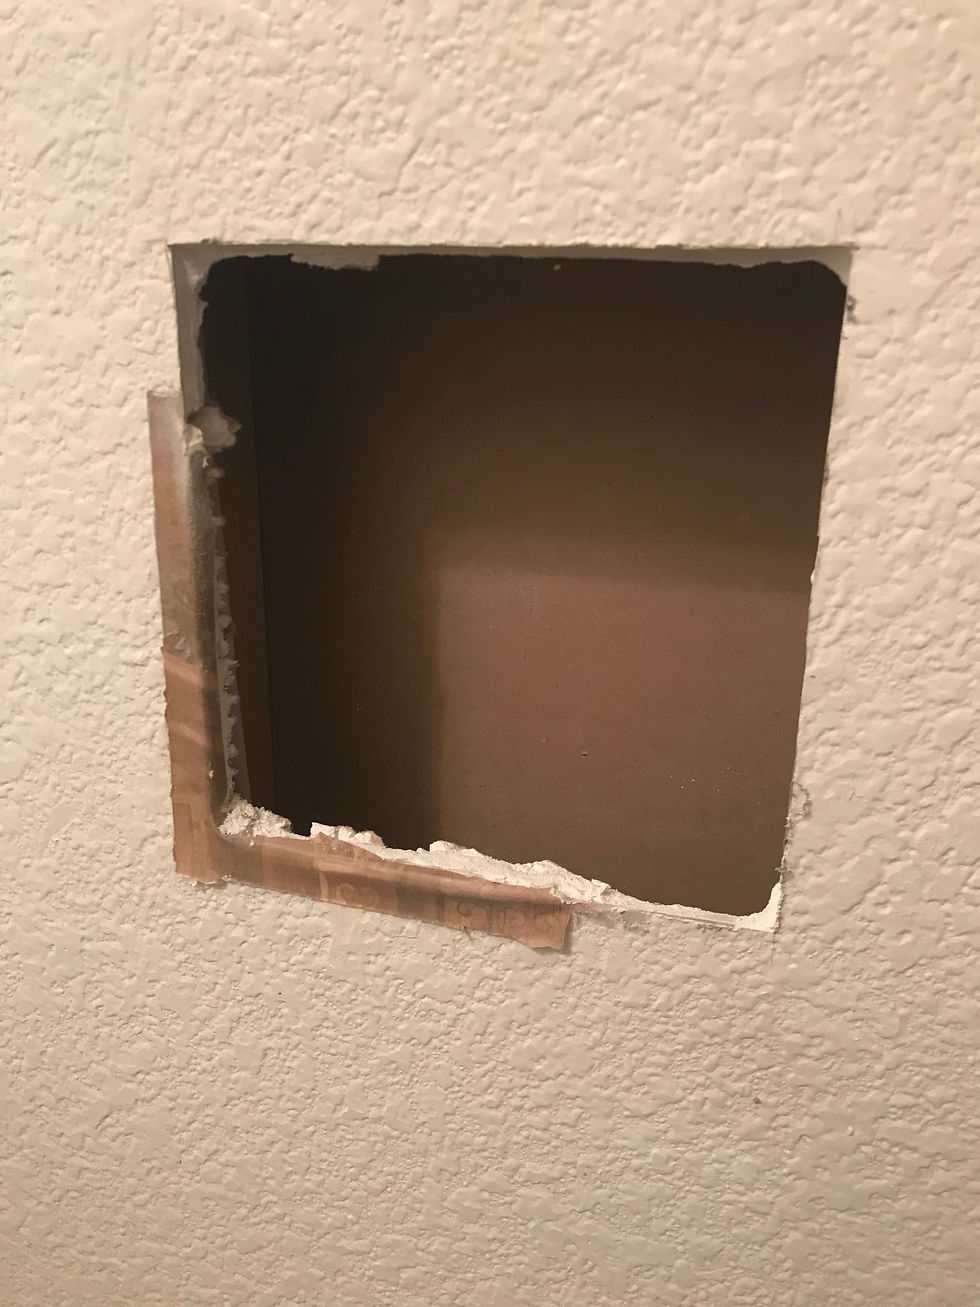
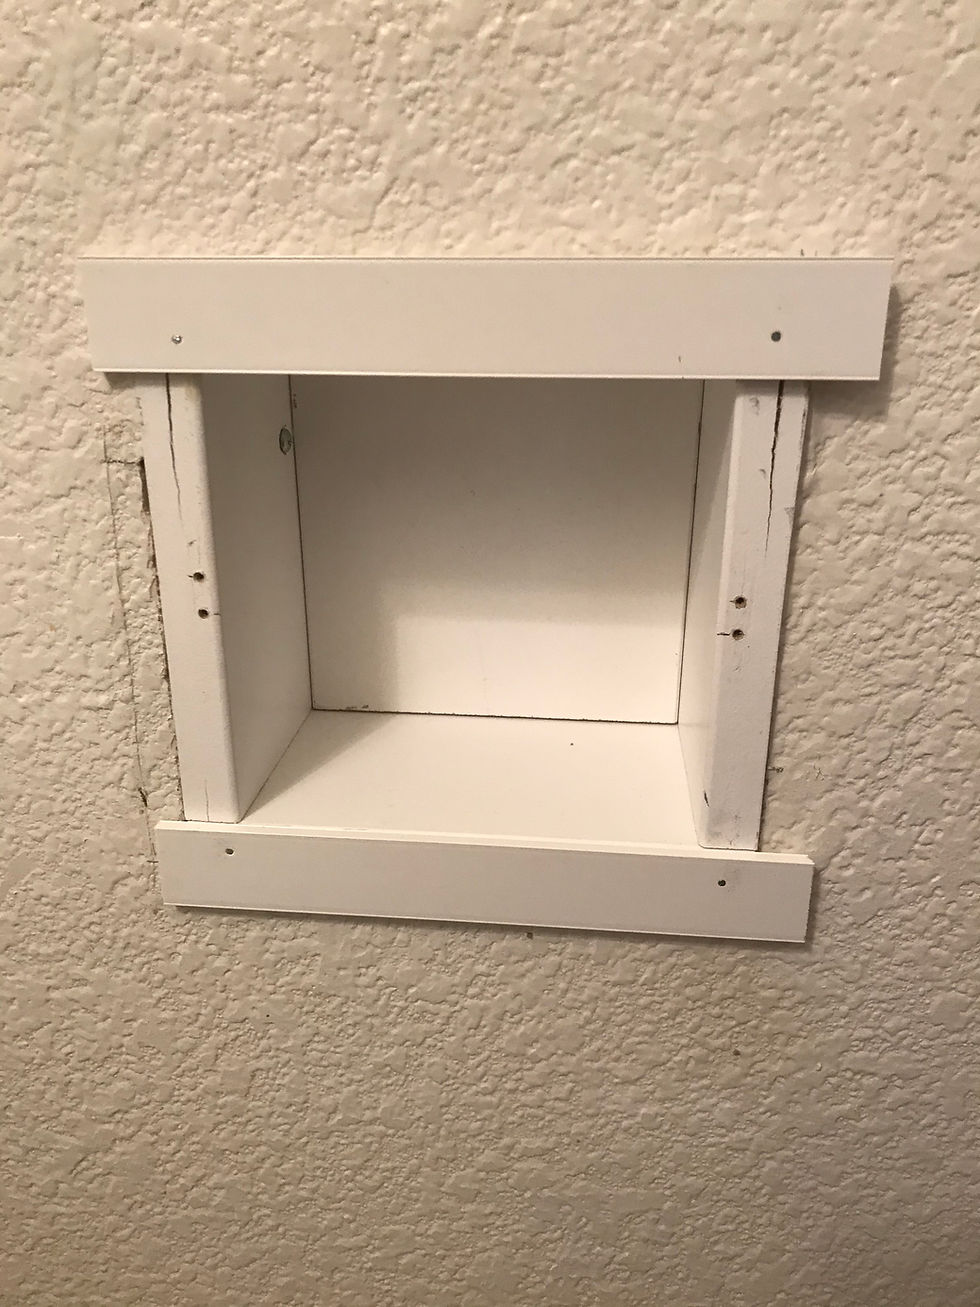
Next, it was time to adjust the wall opening since this new piece was much bigger. Ideally, I would have attached the new piece directly to the stud behind the wall. However, there was a wire running along it.
So I decided to leave that edge of the opening exactly where it was and then build up some scrap wood pieces to attach the piece. I did a poor job attaching the first scrap piece but realized it was too far back anyway, so I attached a second piece with nails instead of screws.

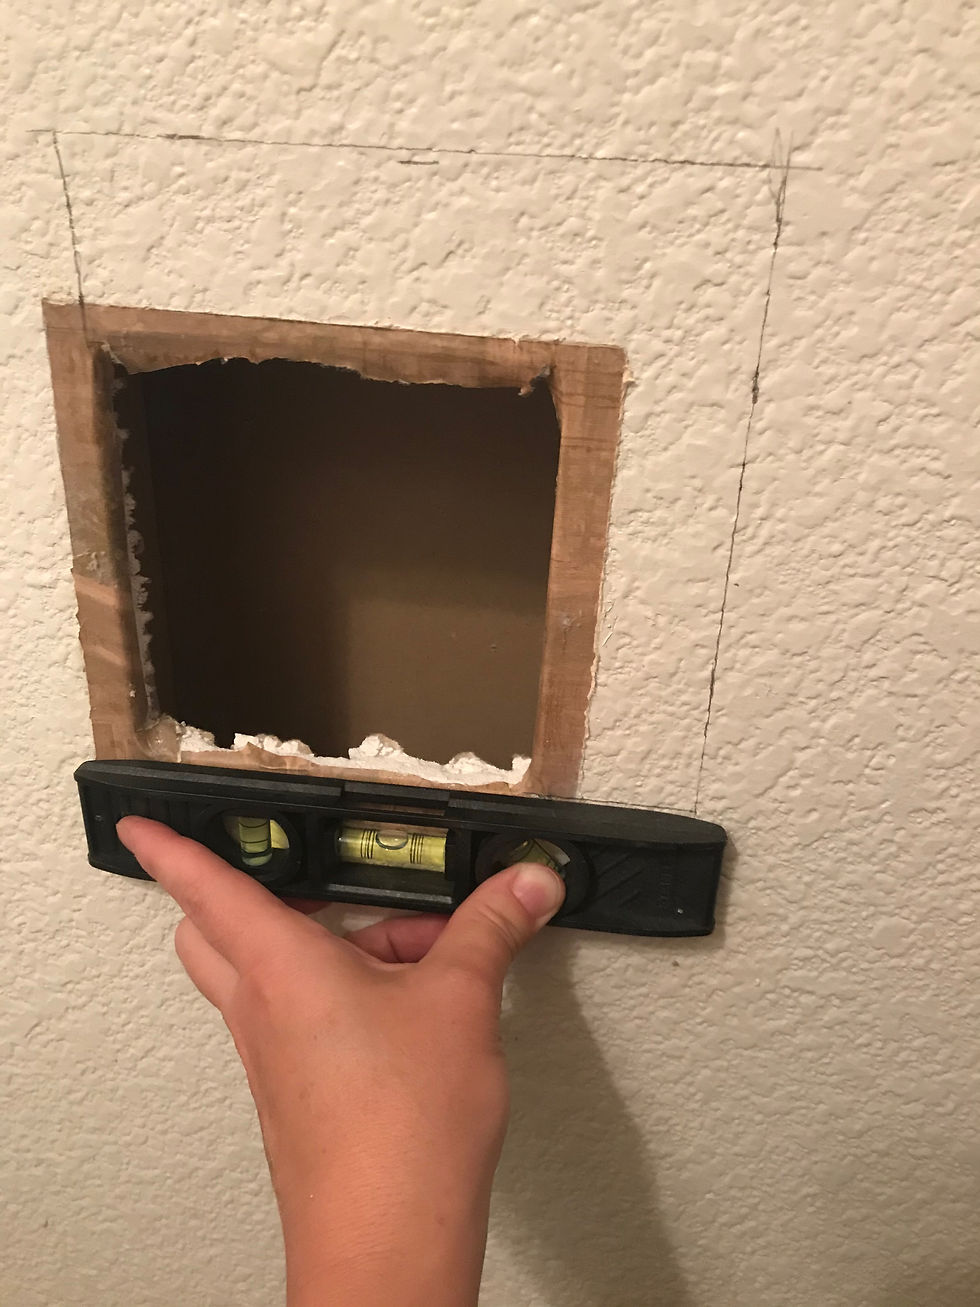
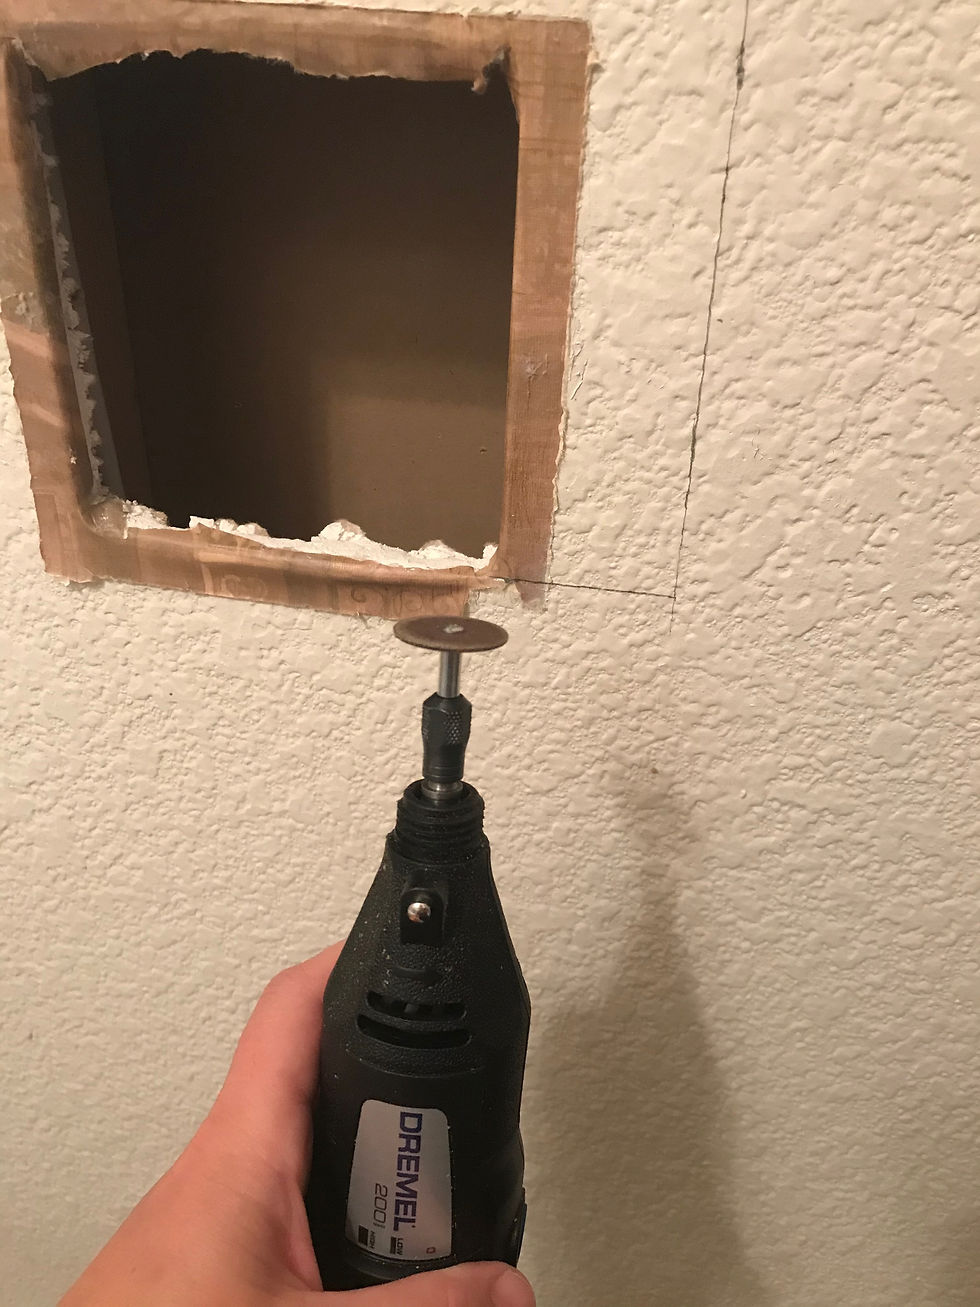
I marked the wall where I was planning on cutting it, using a level since I noticed the original hole was not level.
I've used several different methods of cutting drywall but my favorite is a Dremel. I have so much more control with it than I do with other tools.
Next, I made a pilot hole for a screw to fasten the new piece to the scrap wood that I attached to the stud. Then I pushed the whole piece in.
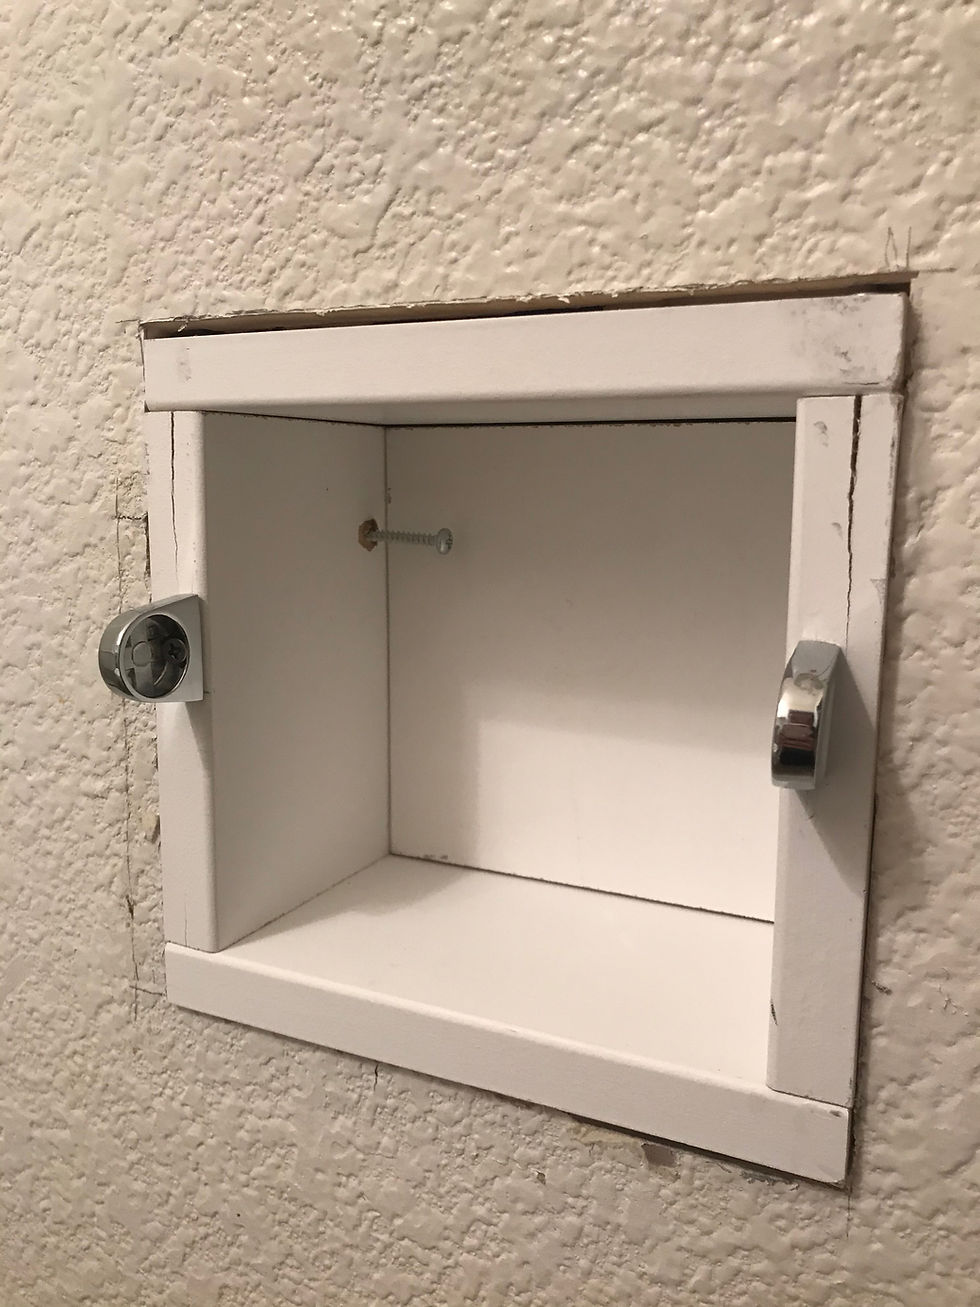
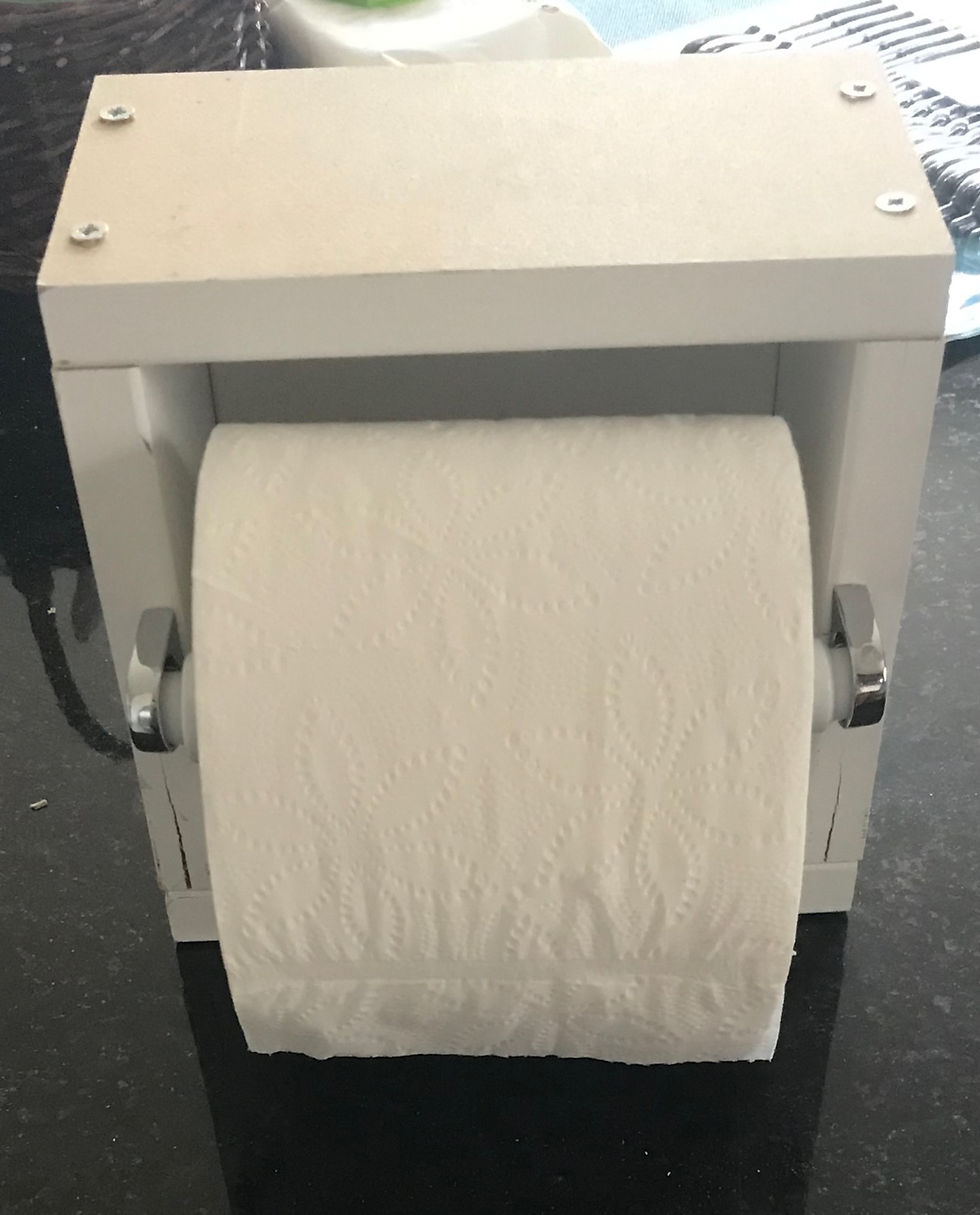
Next, I installed the toilet paper roll to make sure it all worked well.
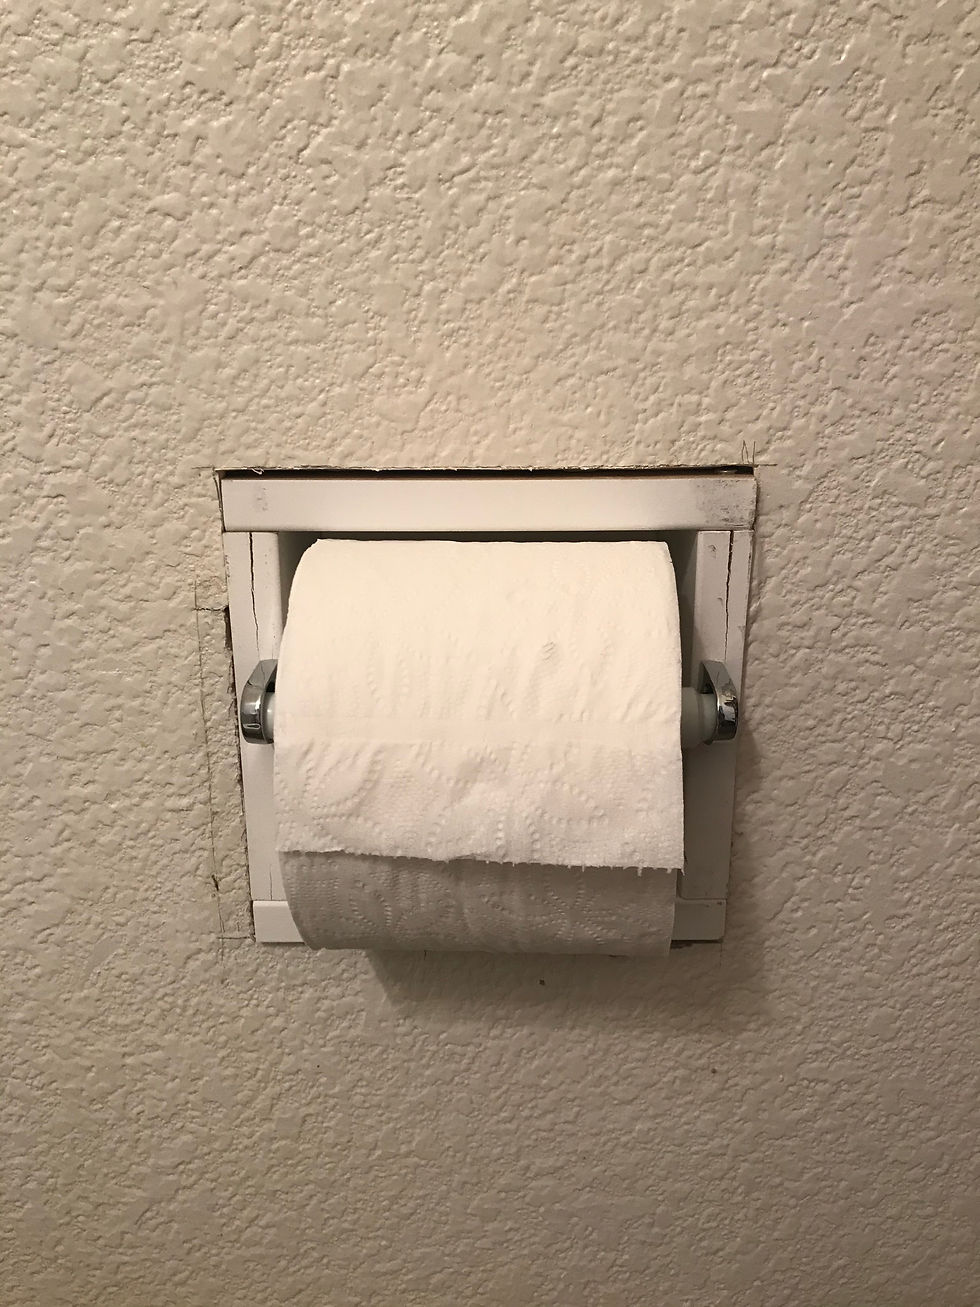
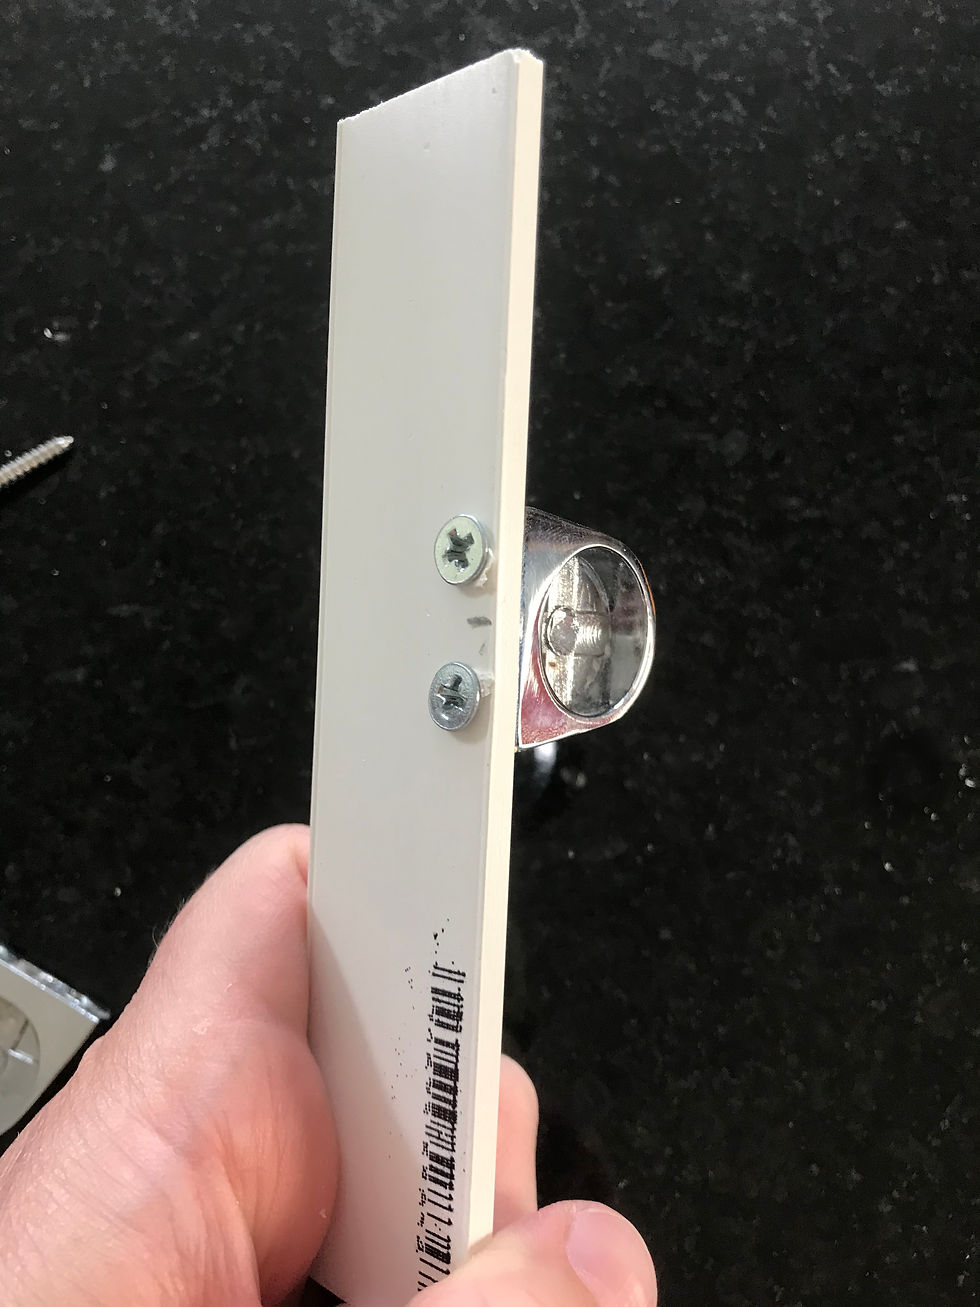
All that's left is trim! That's where I ended up redesigning how the roll holder pieces were attached. First, I installed the top and bottom pieces of trim.
Next, I reinstalled the roll holder pieces directly onto the side trim.
And here's everything in place.

My least favorite part of every project I do is the finishing touches. I'm actually impressed that I made it this far. Trim doesn't usually go on until weeks or months later. So believe me when I say that this is incredible...
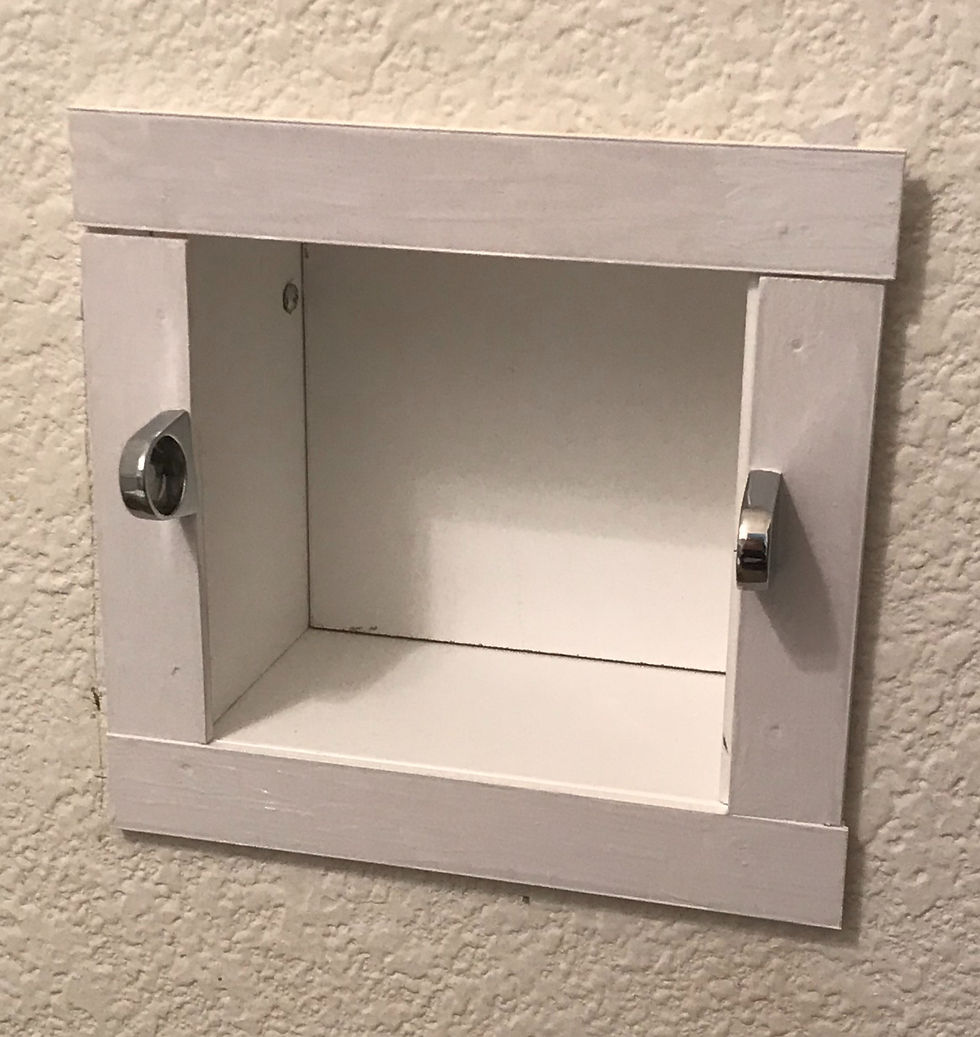
I actually painted it! It still needs a second coat and some caulking. Eventually, this toilet paper holder will be in the middle of wainscoting that I will be installing after I paint the walls and before I install a tile floor. Since there is so much more work to do in this little half bath, I don't mind leaving it the way it is. Also, I have three more toilet roll holders to fix!
Now, where's my Dremel?
Comments